I have designed the tops to have a bevel on three sides only as the rear is flush with the legs and has no overhang. The bevel measures 1/4" x 1" and a pencil line is transferred onto each relevant face using an adjustable square.
 |
| 6mm (1/4") deep - underside of top is facing upwards |
 |
| 25mm (1") wide |
My table-saw is a right tilt blade which means the blade tips in to the fence. This is quite limiting as it means I couldn't construct a jig to hold the work-piece vertical whilst running on the fence to produce the bevel with the table-saw blade.
It does however have a sliding table on the left side of the blade onto which I could mount a jig to do the same thing. This is a bit of overkill for so few bevels and it is far easier to do them by hand with a few planes. This is what I normally do and it doesn't take very long.
First of all place the tabletop upside down onto the bench preferably with a spacer (some plywood is ideal) in between. The spacer servers two purposes it raises the work-piece so you are not risking planing the bench and also ensures any embedded crap on the bench does not get transferred through to the tabletop. The first bevels to create are the cross-grain ones. On the far end I like to apply a slight chamfer just in the area where the plane comes off the wood. This is to minimize break out.
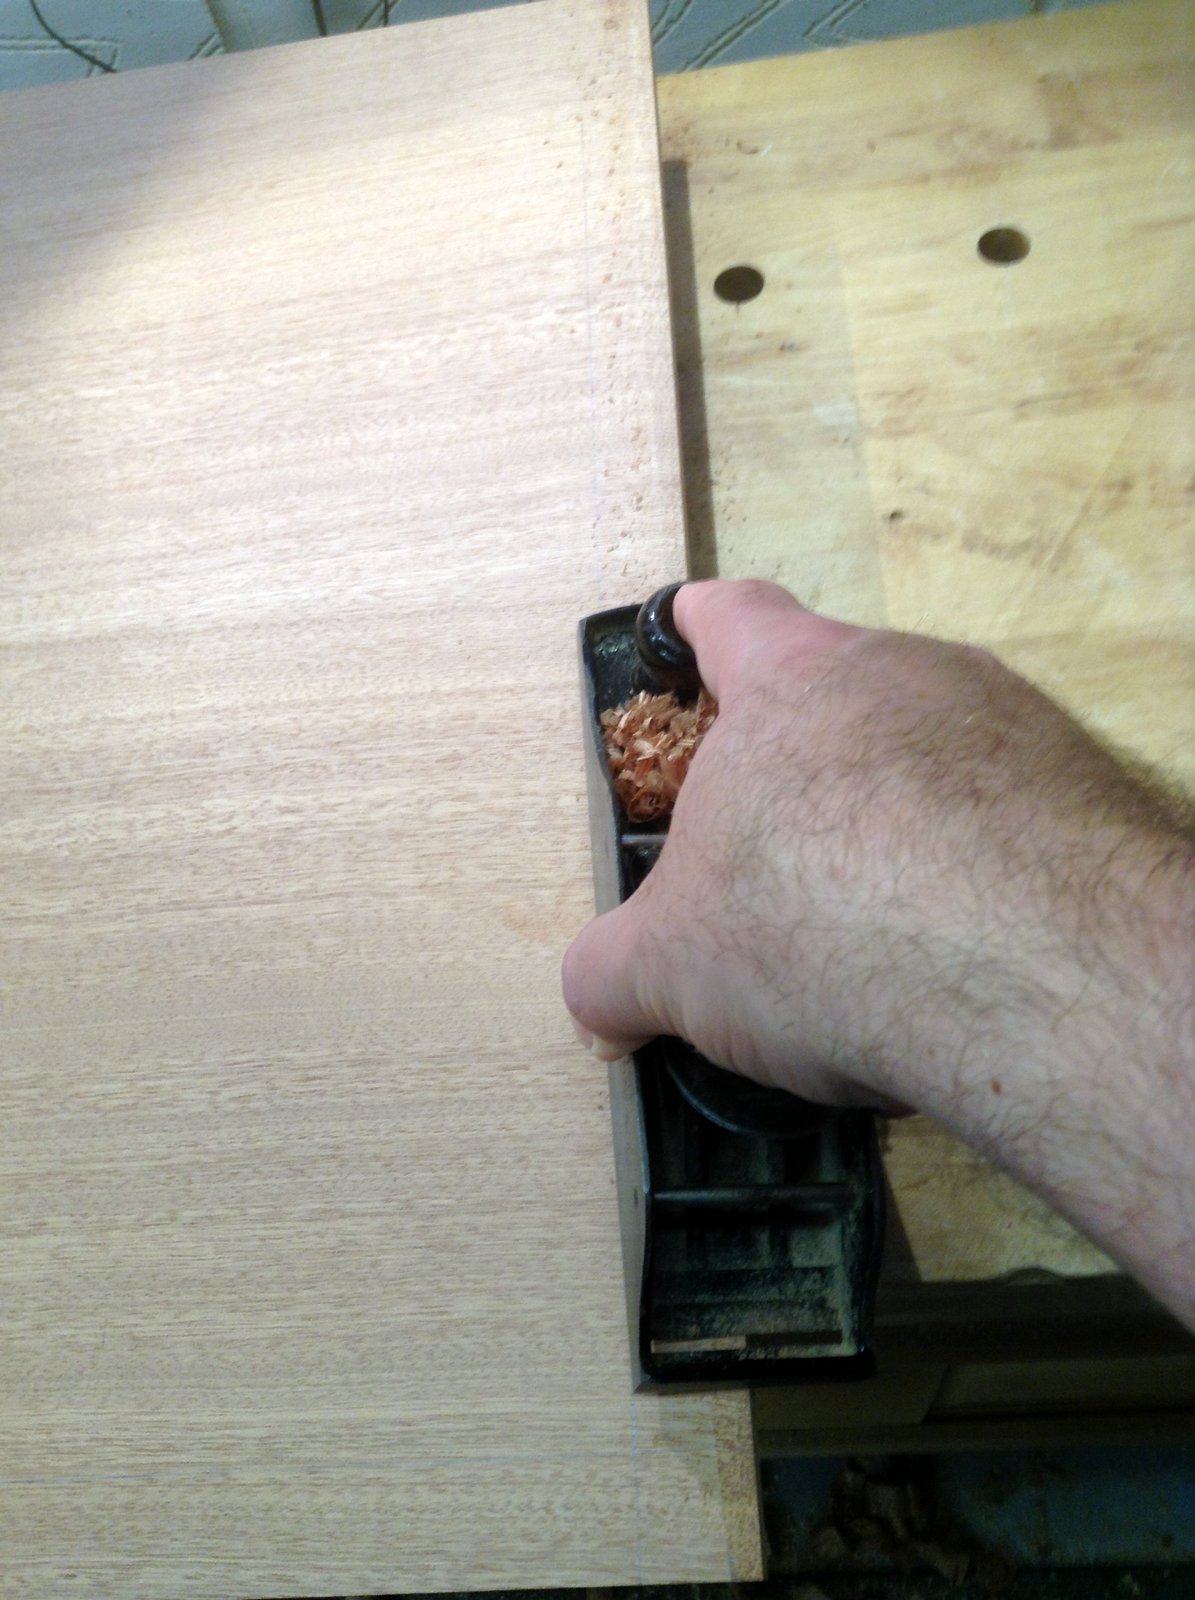

As more and more wood gets taken off it gets difficult doing this with one hand so I then use a #5 jack plane. I keep checking that I am getting close to the line on both faces and when almost there I stop.


I then did the other cross-grain bevel using exactly the same method. The final bevel was established on the front edge with the grain. This has the benefit of cleaning up any tear-out that was produced by going across grain in the previous operation.

If you get it right the bevels will intersect with a nice 45 degree mitre. It takes me about 5 minutes to do each bevel. It would have taken me a day or so to make a holding jig to do the same on the table-saw and it wouldn't have necessarily produced results as good as this (on my table saw at least - yours might be different).

The final process was to run a small ovulo bearing guided cutter around the perimeter of the upper face.
No comments:
Post a Comment